Exploring the Life Cycle of Monarch Butterfly
Introduction
This is the first post in a series of posts geared towards classroom educators that will showcase a creative technologist’s interpretation of a middle school NGSS standard. Each post will share ideas for exploring subjects that aren’t traditionally covered in classroom technology projects such as genetics or the solar system. Additionally, each post will contain an example project, sample questions prompts for students, and ideas for implementing and expanding on the example project in your classroom.
Materials Needed
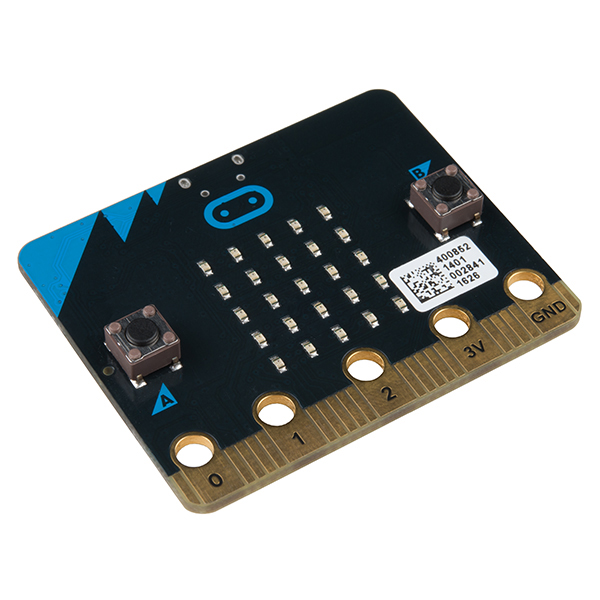
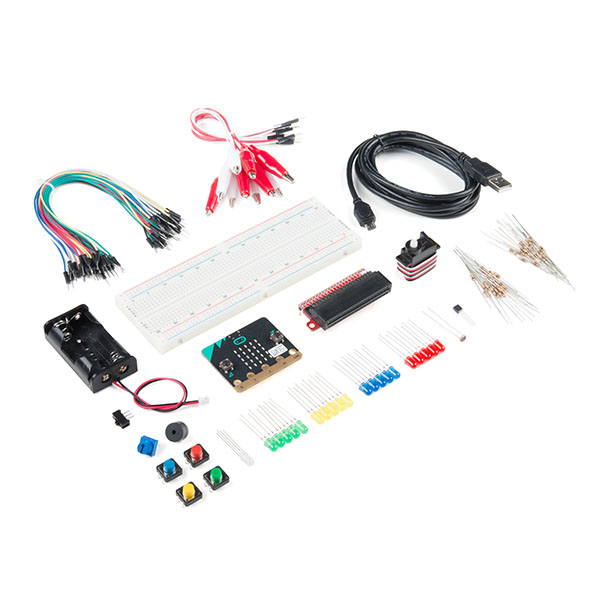
- Sparkfun Inventor’s Kit for micro:bit
- Crafting materials: paper, drawing and coloring supplies, glue, tape
Check your Understanding. Before completing this activity students and teachers should:
The Project:
Featured Standard
Project Idea
Using the Sparkfun Inventor’s Kit for micro:bit, students will create a model of a plant or animal that demonstrates through interactive electronic elements how environmental or genetic factors can influence the growth of the organism. Students will collect evidence to inform how their interactive elements will work.
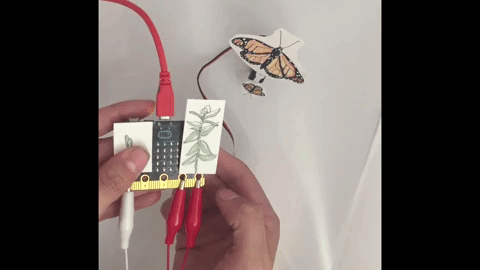
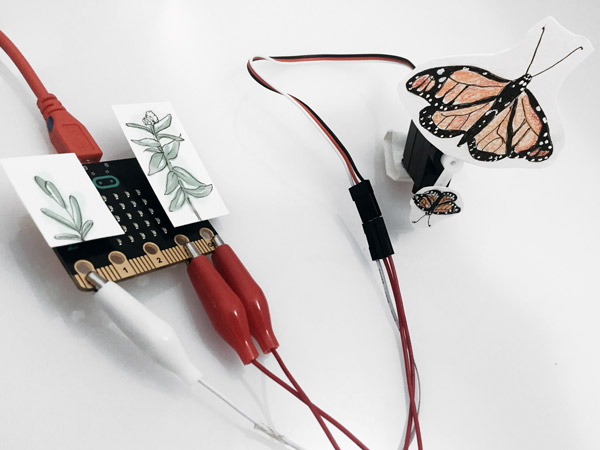
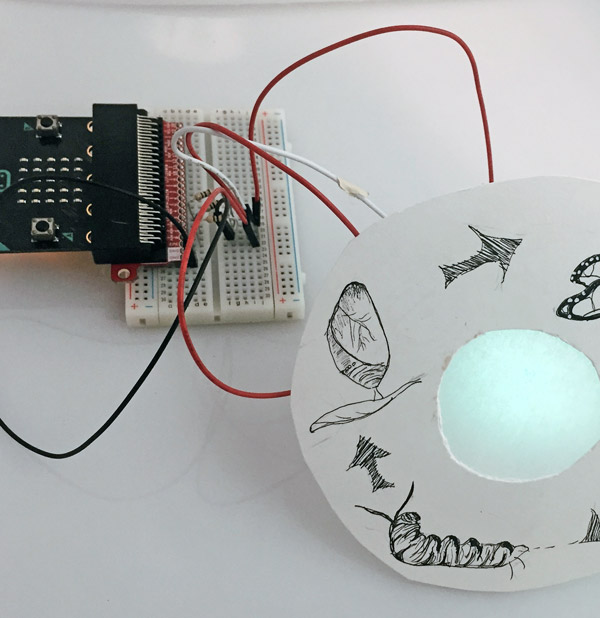
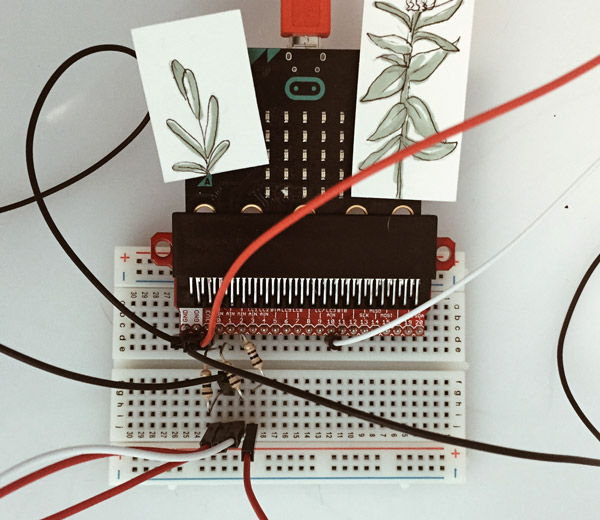
I focused on the life cycle of the monarch butterfly for this example. There are many environmental factors that can influence the life cycle of the monarch butterfly. In my example I show how the maturity of the milkweed plant that monarch caterpillars eat influences the size of the adult monarch butterfly by pressing images of young and mature milkweed that I’ve added to the buttons on the micro:bit. When the young milkweed is pressed, a servo motor with images of a large and small butterfly rotates and the smaller butterfly is on top because monarch larvae that eat younger milkweed plants are often smaller than larvae that eat more mature milkweed plants. When the mature milkweed button is pressed, the larger butterfly rotates to the top.
I show how temperature influences the development of the monarch butterfly by using the temperature sensor on the micro:bit to change the color of a tricolor LED. When the temperature is in a good range the light is green, if it’s too hot for the monarch butterfly to complete its life cycle the light turns red, if it’s too cold the light turns blue.
In this video I’m using touch to warm up the micro:bit in order to get it to change colors.

Project Steps
Before beginning this project with students come up with a timeline that’s appropriate for your classroom. This is a flexible project that could be completed over the course of a couple full class periods or could be broken up into smaller parts and completed in a few weeks.
Step 1
Prompt students to pick an organism to research and find relevant and applicable information on how genetics or environmental factors affect the growth of the organism.
Step 2
Have students brainstorm creative ways to communicate the information learned about the growth and development of an organism.
Step 3
Ask students to create a plan for the model.
Step 4
Give students time to assemble the project.
- Tips: Start with assembling the electronic components and making sure the code is working. After students are sure that these work, move on to combining the electronic components with the crafted components like paper cut-outs or illustrations. Encourage students to think about the design of their model: how can you change design elements to make your model look better or work better?
- Tip: have students write pseudocode using plain language before moving on to coding. Ex: “When I press the A button, the motor will turn 180°”.
-
 My project: I approached this part of my project by breaking it into chunks. First I create a circuit that connects a servo motor to the micro:bit. Then I create my code that tells the servo to move when the a or b buttons on the micro:bit are pressed. See the code example below and feel free to use this and tweak it in your own projects.
 - Code:
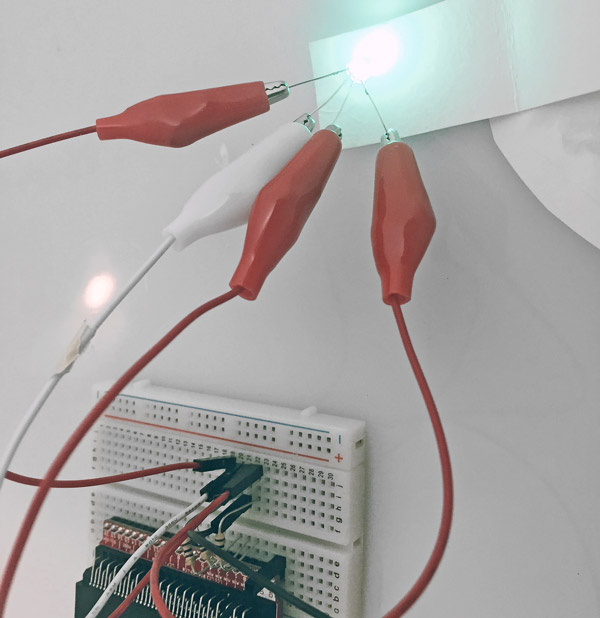
- Note: I started simple by just using the micro:bit and alligator clips with pigtails. I haven’t used the breadboard yet. This is great way to build students confidence in creating circuits before moving onto creating circuits using the breadboard.
- Next I create a circuit that connects an RGB LED to the micro:bit. Then I create my code that tells the LED to be green if the temperature is between 10° and 34° Celsius, red if the temperature is above 34° Celsius, and blue is the temperature is below 10° Celsius.
- Note: I added a way to show the temperature on the micro:bit screen to this example code by pressing the a + b buttons. This is great for testing to see if your temperature sensor and code are working correctly.
- Code:
- Tip: Remember that you can visit Sparkfun Inventor’s Kit for micro:bit Experiment Guide for more guidance on setting up these circuits.
- Finally, I’m going to combine both of these circuits and arrange the elements so that I can interact with both of them at the same time.
- Code:
- Encourage students to think about how they can combine the elements of their projects into a final product in which the electronic components that aren’t important for interacting with their project are hidden.

Step 5
Consider having students share their final project with peers, gather feedback, and iterate!
Ideas for Taking it Further